


Easily save Netflix movies and TV episodes for offline viewing with StreamFox Netflix Video Converter. Follow this guide to get started, customize output, and manage your converted videos efficiently.
Part 1. Free Trial and Account Activation
| Feature | Details |
|---|---|
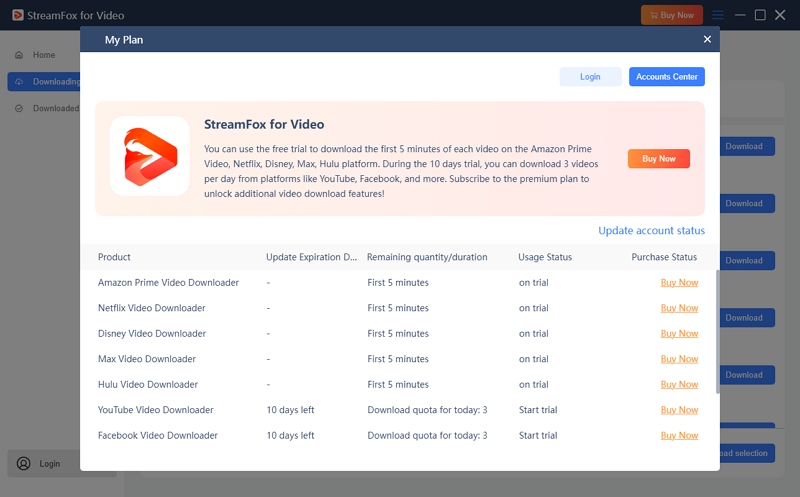
| Trial Duration | 10 days |
| Trial Limitation | First 5 minutes of each Netflix video |
| Purpose | Preview video quality, audio tracks, subtitles, and output formats |
To unlock full conversion functionality:
Purchase License Key / Password
- Launch the app and click Buy Now next to the Netflix option.
- Complete the payment via the online store. The license key or password will be sent to your email.
- Optionally, choose an All-in-One subscription to unlock multiple platforms at once.
Activate License
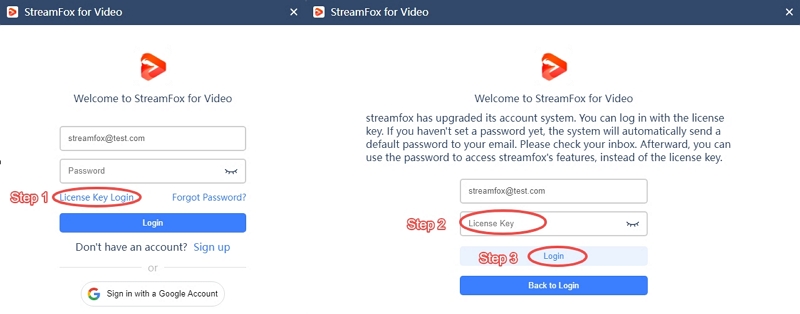
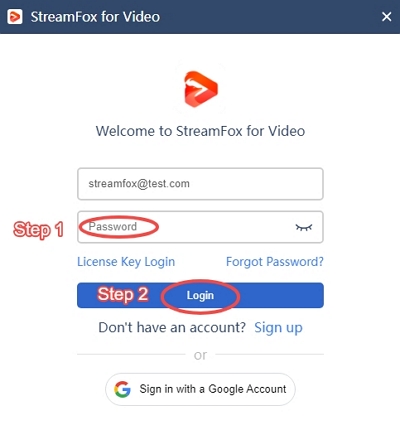
- Open StreamFox for Video and click Login → License Key Login.
- Or enter your email and password.
- If you already have an account, click Update account status after purchase to activate the subscription.
Once activated, you can convert full Netflix videos without restrictions.
Part 2. Download Netflix Videos as MP3/MOV/MKV
- Open StreamFox for Video.
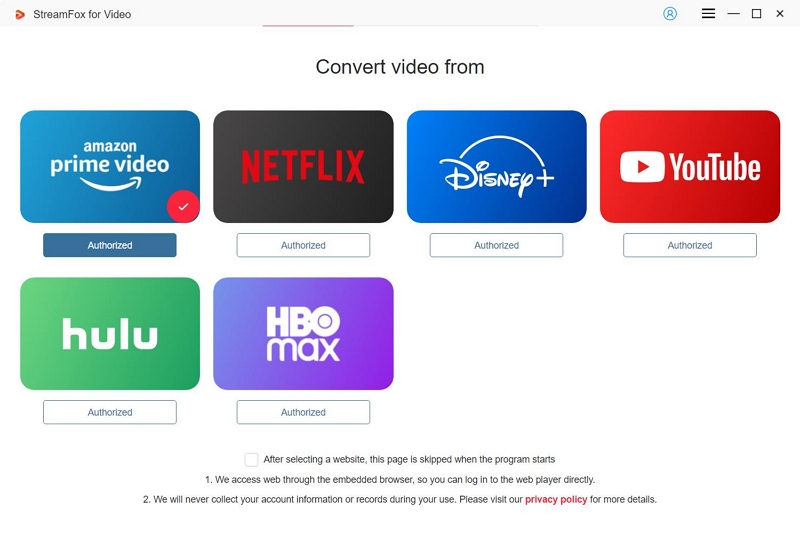
- On the Home interface, click the Netflix icon to select the platform.
- A built-in browser will open.
- Log in with your Netflix credentials to access content.
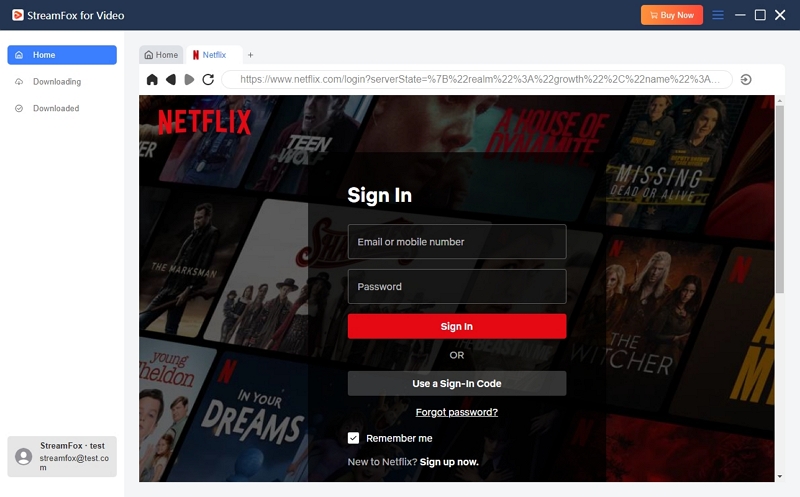
Pro Tip: StreamFox does not store or misuse your login information; it is only used to access Netflix content for offline conversion.
StreamFox for Video supports two ways to add Netflix videos, depending on how the content is accessed.
Option 1: Paste a Netflix Video URL
- Copy the Netflix movie or episode link.
- Paste the URL into the search bar at the top of StreamFox for Video.
- Click the search (magnifying glass) icon.
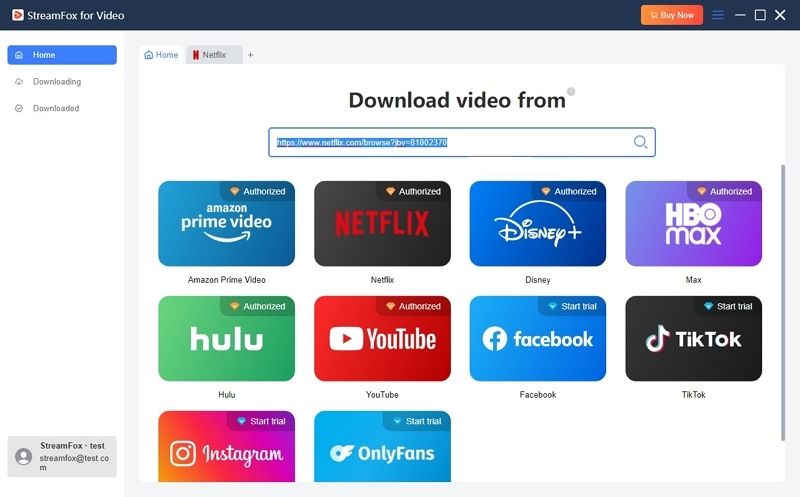
The software will automatically analyze the video and open the Output Settings window, where you can select format, quality, audio, and subtitle options.
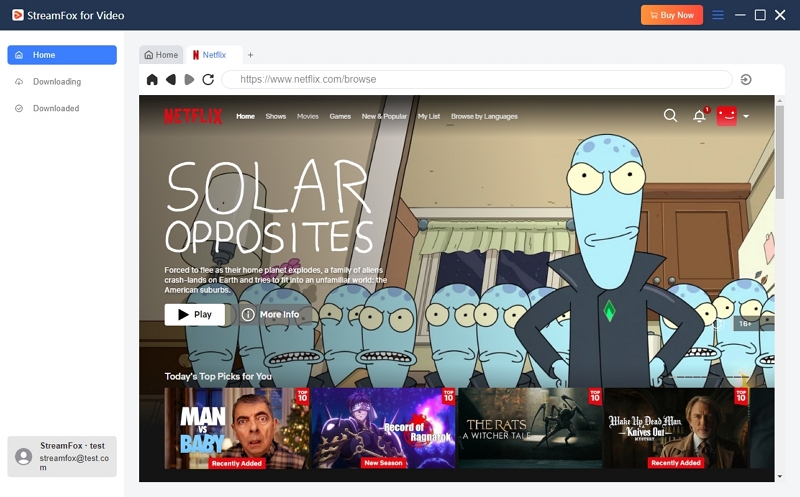
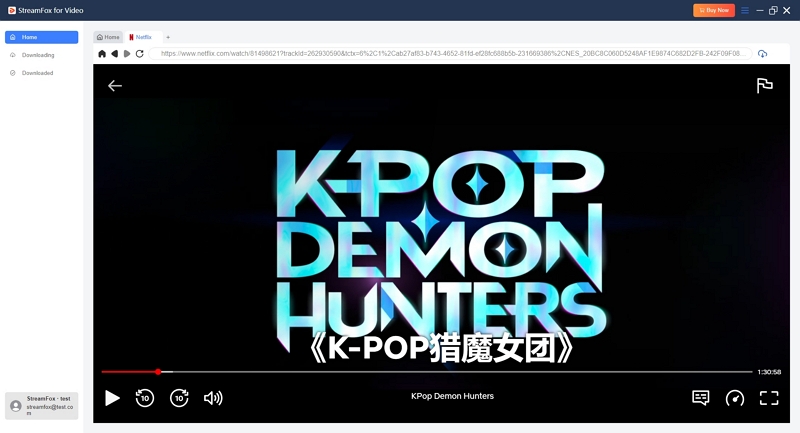
Option 2: Use the Built-in Netflix Browser
- Open the movie or episode you want to convert.
- Click the cloud icon next to the address bar to add the video to the conversion list.
Tip: Both methods support batch conversion. You can add multiple Netflix videos in one session before starting the conversion process.
In the pop-up conversion window, choose your preferred output options before starting the conversion.
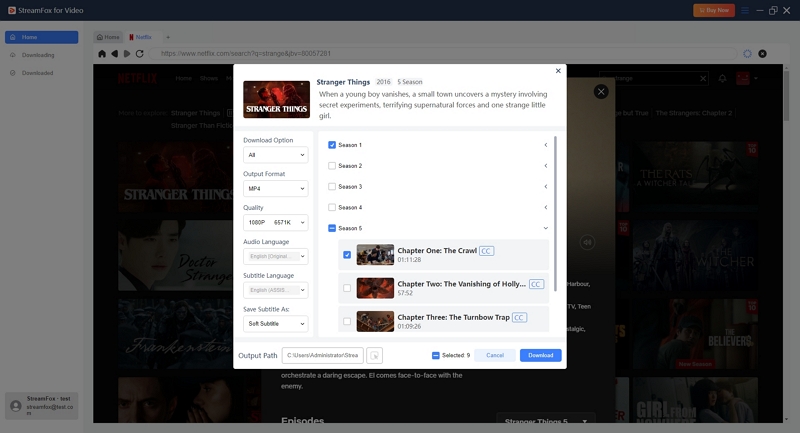
Available Settings
| Setting | Options | Description |
|---|---|---|
| Download Option | All / Audio Only / Subtitles Only | Choose to convert full video, audio tracks only, or subtitle files only. |
| Output Format | MP4 / MKV / MOV | Select the video container format. |
| Quality | Best / Medium / Low | Output quality depends on source availability. |
| Audio Language | Multiple languages | Select preferred audio tracks when available. |
| Subtitle Language | Multiple languages | Choose subtitle language provided by the source video. |
| Save Subtitle As | Hardcoded / Soft / External | Define how subtitles are processed and stored. |
After configuring the settings, select the videos you want to process and click Download to begin.
Notes
- Audio Only and Subtitles Only options appear only when the source video provides independent audio or subtitle tracks.
- Available languages and quality options depend on the original Netflix content.
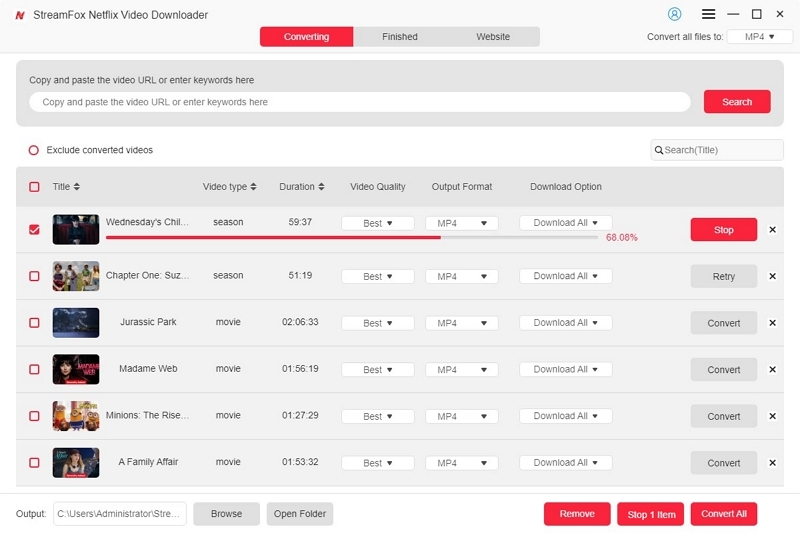
- Conversion progress is visible in the Downloading module. Pause, resume, or cancel conversions as needed.
- After completion, go to Finished → View Output File to locate your downloaded videos. This helps you quickly locate converted videos for playback, transfer, or backup.
- Enjoy offline playback with any installed media player.
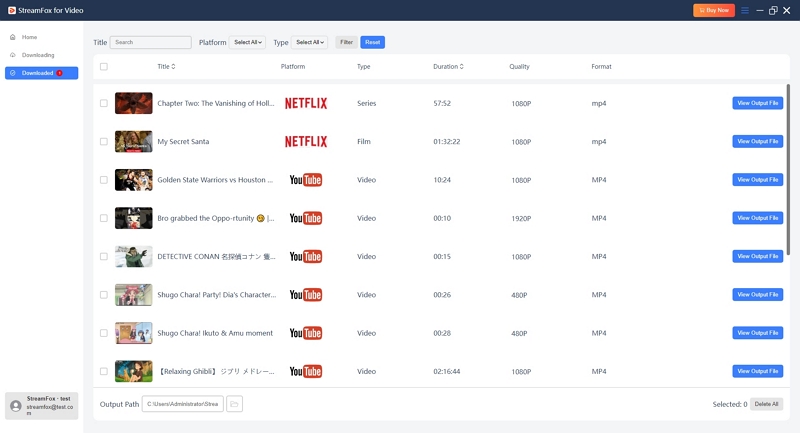
Delete Downloaded Videos from the List
- In the Downloaded section, select one or multiple videos by checking the box.
- Click Delete Selection to remove them from the download list.
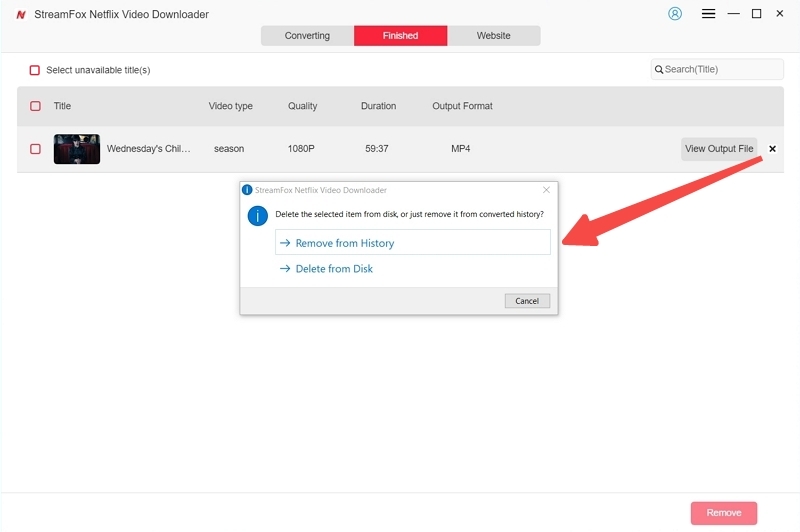
- A confirmation window will appear with two options:
- Remove from History – Removes the task from the download list while keeping the local video files.
- Delete from Disk – Removes both the task and the corresponding files from your computer.
- Choose the option based on whether you want to keep or completely remove the downloaded files.
Part 3. Tips for Efficient Netflix Downloads (Preferences Settings)
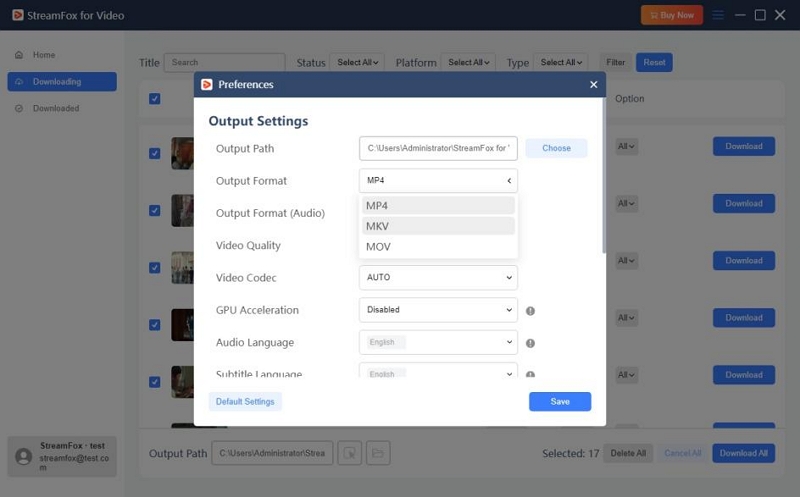
To improve download efficiency and better manage output files, StreamFox Netflix Video Converter provides advanced customization options in Menu → Preferences.
Below are recommended settings and use cases:
- Purpose: Choose where all converted Netflix videos are saved locally.
Tip: Set a dedicated folder (e.g. “Netflix Downloads”) to keep files organized.
- Video Output Format: MP4 / MKV / MOV
MP4 offers the best compatibility across devices.
- Audio Output Format: MP3 / M4A / FLAC / WAV
Available when using Audio Only mode.
- Video Quality: Best / Medium / Low
Actual resolution depends on Netflix source availability.
- Video Codec: AUTO / H.264 / H.265
H.265 reduces file size while maintaining quality (recommended for 1080p+).
- Enabled: Faster conversion and lower CPU usage on supported hardware.
- Disabled: Use if GPU compatibility issues occur.
Recommendation: Keep GPU Acceleration enabled for high-resolution Netflix videos.

- Audio Language: Select preferred languages in advance.
- Subtitle Language: Automatically detected based on source availability.
- Save Subtitle As: Hardcoded / Soft / External
| Type | Description | Notes |
|---|---|---|
| Hardcoded | Burned into video | Cannot be turned off or edited |
| Soft | Encoded as separate track | Can toggle on/off; may not display in some players |
| External | Independent file (.srt / .vtt) | Editable and importable manually; risk of loss if deleted |
Recommended media players for Soft / External subtitles: VLC Media Player, Media Player Classic-BE (MPC-BE), and PotPlayer.
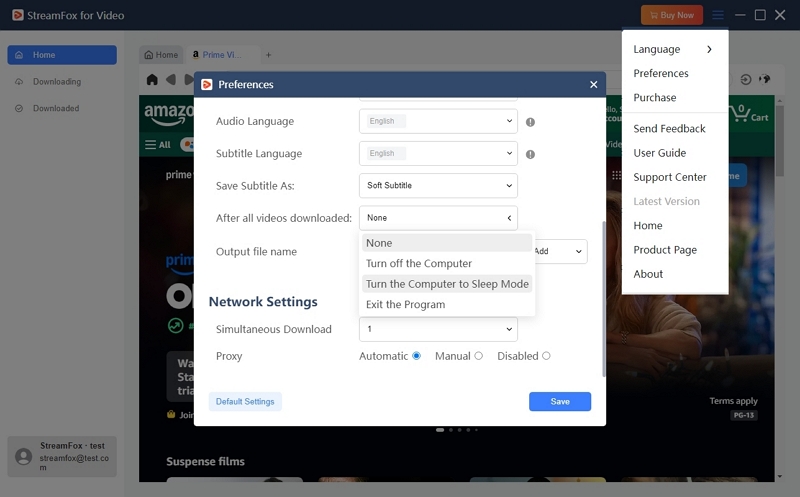
After All Videos Converted:
- None
- Turn off the Computer
- Sleep
- Exit the Program
Useful for overnight or batch Netflix downloads.
Tip: For frequent Netflix conversions, setting default formats, languages, and post-download actions in Preferences can significantly reduce setup time and improve workflow efficiency.